Info, Knowledge Base
Installing your CD8 Freeze Dryer
Lets follow these simple steps in installing your CD8 freeze dryer. Before we begin, when preparing for installation, make sure that you have a surface with the right size to accomodate and support the weight of your CD8.
Allow 200 mm around the unit to allow air to circulate – keep it away from any flammable objects.
The room has to be less than 25 degrees celsius temp and allow adequate air con and ventilation in the room.
Firstly observe safe manual handling practice when moving your CD8 Freeze Dryer
Make sure all electrical connections are up to code and make sure a circuit break board is used for safety.
- Once your CD8 is on the bench use adjustable feet to make it level
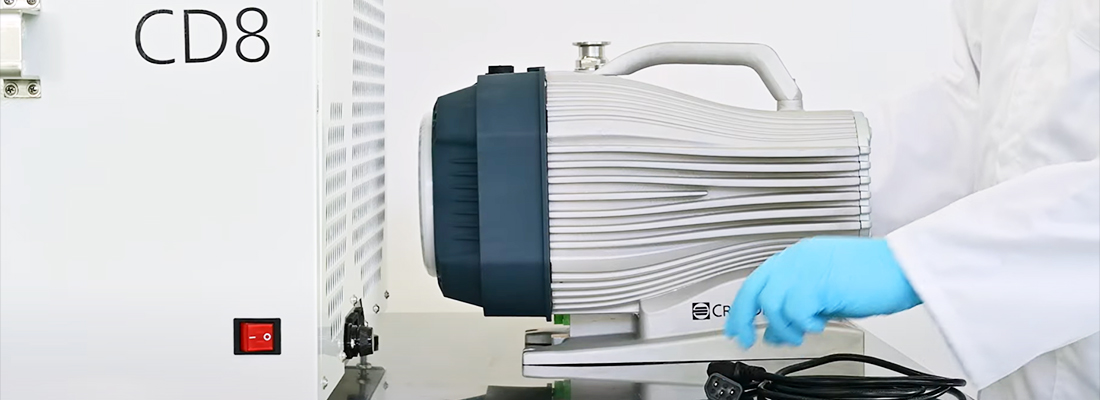
- Place your vaccum pump next to the unit or underneath it depending on how long the hose is – switch pump on
- Connect the vacuum hose from freeze drier to pump using clamp supplied
- Connect the Power cable from CD8 to pump.
- Connect the CD8’s power cable to a 240v wall socket
- Install your drain valve onto your CD8
- Turn your CD8 on
Options for your CD8
Now that you have installed your CD8 and have connected it to your
vacuum pump you can now;
- Install a drain hose to drain the water that you have collected during the freeze drying process. Be sure to open the drain from the back gently otherwise it will be quite noisy due to the powerful vaccum.
- Lastly, you may want to connect an exhaust for your vacuum pump
You are now ready to start enjoying the vast benefits that your brand new CD8 will deliver.