Info, Knowledge Base
How to use the CD8 as a shared freeze dryer

A shared freeze dryer in a laboratory or university setting is beneficial for cost efficiency and resource optimization. Researchers can share the equipment to freeze-dry various samples reducing the need for individual units.
Examples include preserving biological samples, lyophilizing pharmaceuticals, or preparing samples for electron microscopy. Sharing enhances accessibility and promotes collaboration among researchers with diverse projects and funding constraints.
The CryoDry® CD8 is designed to be used in program mode however there may be times that users wish to use the system in manual mode, such as when multiple users want to use the system at different times such as the abovementioned scenarios. Please note, if you are working in Manual Mode, your samples have to be pre-frozen before placing them into the unit.
Step-by-Step Instructions
View our detailed step-by-step instructions on how to use the CD8 as a shared freeze dryer
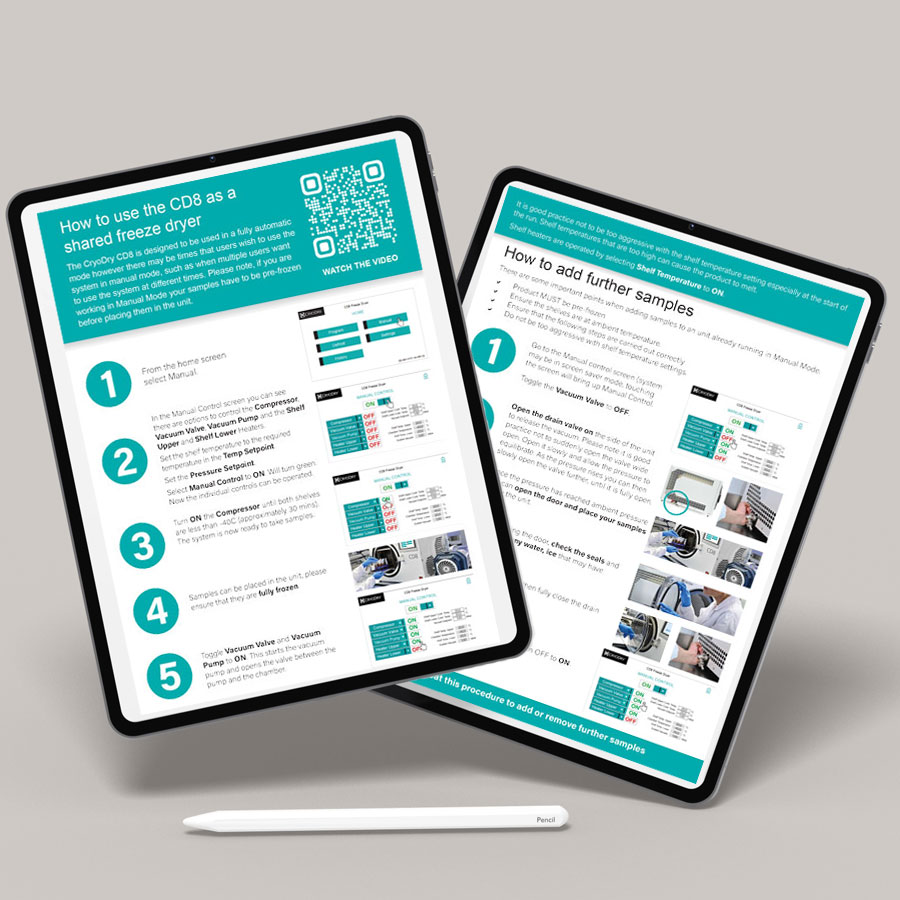
Steps to using your CD8 Freeze Dryer as a shared freeze dryer
- From the home screen select Manual.
- In the Manual Control screen you can see there are options to control the Compressor, Vacuum Valve, Vacuum Pump and the Shelf Upper and Shelf Lower Heaters.
Set the shelf temperature to the required temperature in the Temp Setpoint.
Set the Pressure / Vacuum Setpoint.
Select Manual Control to on. Will turn green. Now the individual controls can be operated. - Turn on the Compressor until both shelves are less than -40C (approximately 30 mins). The system is now ready to take samples.
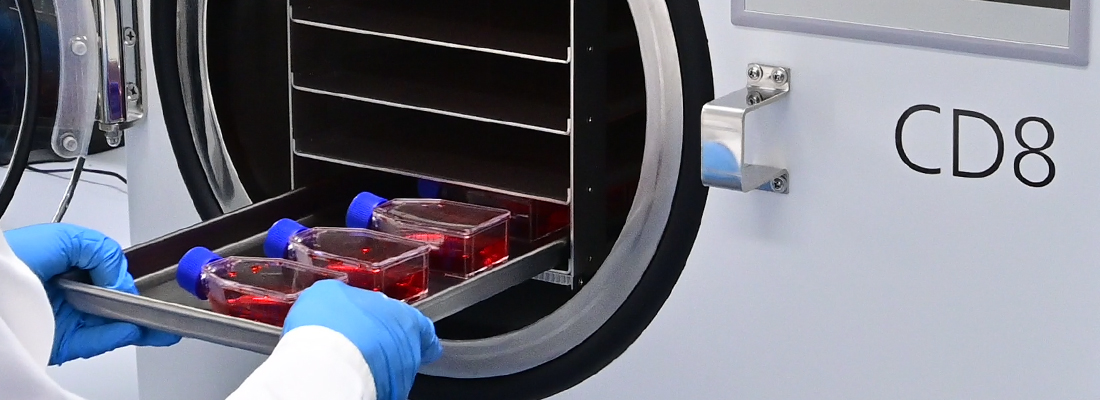
- Samples can be placed in the unit, please ensure that they are fully frozen.
- Toggle Vacuum Valve and Vacuum Pump to on. This starts the vacuum pump and opens the valve between the pump and the chamber.
How to add further samples
- Go to the Manual control screen (system may be in screen saver mode, touching the screen will bring up Manual Control.
Toggle the Vacuum Valve to OFF. - Open the drain valve on the side of the unit to release the vacuum. Please note it is good practice not to suddenly open the valve wide open. Open it slowly and allow the pressure to equilibrate. As the pressure rises you can then slowly open the valve further, until it is fully open.
- Once the pressure has reached ambient pressure you can open the door and place your samples inside the unit.
- Before closing the door, check the seals and wipe away any water, ice that may have built up.
- Close the door and then fully close the drain valve.
- Turn the Vacuum Valve from OFF to ON.
Repeat this procedure to add or remove further samples.


